Managing your Raspberry Pi remotely can significantly enhance your productivity and flexibility. Whether you're a hobbyist, a developer, or an IT professional, the ability to control your Raspberry Pi from anywhere in the world is invaluable. This guide will walk you through the steps to remotely manage your Raspberry Pi for free, ensuring you have all the tools and knowledge you need to get started. With the right setup, you can monitor, control, and troubleshoot your Raspberry Pi without being physically present.
Remote management of a Raspberry Pi opens up a world of possibilities. You can run scripts, manage files, and even control hardware components like sensors and cameras from the comfort of your home or office. This capability is especially useful for projects that require constant monitoring or adjustments. By the end of this article, you'll have a clear understanding of how to set up and manage your Raspberry Pi remotely without incurring any costs.
In today's digital age, the ability to remotely manage devices is more important than ever. With the increasing number of IoT devices and smart home projects, having a reliable and cost-effective way to manage your Raspberry Pi is crucial. This guide will cover everything from initial setup to advanced management techniques, ensuring you have a comprehensive understanding of the topic. Let's dive in and explore how you can remotely manage your Raspberry Pi for free.
Read also:Mastering Project Management A Comprehensive Guide To Success
Table of Contents
Introduction to Remote Management of Raspberry Pi
Remote management of a Raspberry Pi involves controlling and monitoring the device from a different location. This can be done through various methods, including SSH, VNC, and remote desktop applications. The primary goal is to provide users with the ability to interact with their Raspberry Pi as if they were physically present, allowing for greater flexibility and efficiency in managing projects and tasks.
One of the key benefits of remote management is the ability to access your Raspberry Pi from anywhere with an internet connection. This is particularly useful for projects that require constant monitoring or adjustments. Whether you're working on a home automation system, a weather station, or a security camera setup, remote management allows you to make changes and troubleshoot issues without being physically present.
Remote management also enhances collaboration. Multiple users can access and control the Raspberry Pi simultaneously, making it easier to work on group projects or share resources. This guide will cover the most effective methods for remotely managing your Raspberry Pi, ensuring you have all the tools and knowledge you need to get started.
Setting Up SSH for Remote Access
SSH (Secure Shell) is one of the most common methods for remotely managing a Raspberry Pi. It provides a secure way to access the command line of your Raspberry Pi from another computer. Setting up SSH is straightforward and can be done in a few simple steps.
To enable SSH on your Raspberry Pi, you need to access the Raspberry Pi Configuration tool. This can be done by clicking on the Raspberry Pi icon in the top left corner of the screen, selecting Preferences, and then Raspberry Pi Configuration. In the Interfaces tab, enable SSH by selecting the Enable option. Once enabled, you can connect to your Raspberry Pi using an SSH client like PuTTY on Windows or the Terminal on macOS and Linux.
When connecting via SSH, you will need the IP address of your Raspberry Pi. You can find this by running the command hostname -I in the terminal. Once you have the IP address, open your SSH client and enter the IP address along with the default username (pi) and password (raspberry). It's important to change the default password to enhance security.
Read also:Classic El Camino For Sale A Buyerrsquos Guide To The Iconic Chevrolet
Benefits of Using SSH
- Secure Connection: SSH encrypts the data transmitted between your computer and the Raspberry Pi, ensuring your information remains private.
- Command-Line Access: SSH provides full access to the Raspberry Pi's command line, allowing you to run scripts, install software, and manage files.
- Remote Access: You can access your Raspberry Pi from anywhere with an internet connection, making it ideal for remote projects and monitoring.
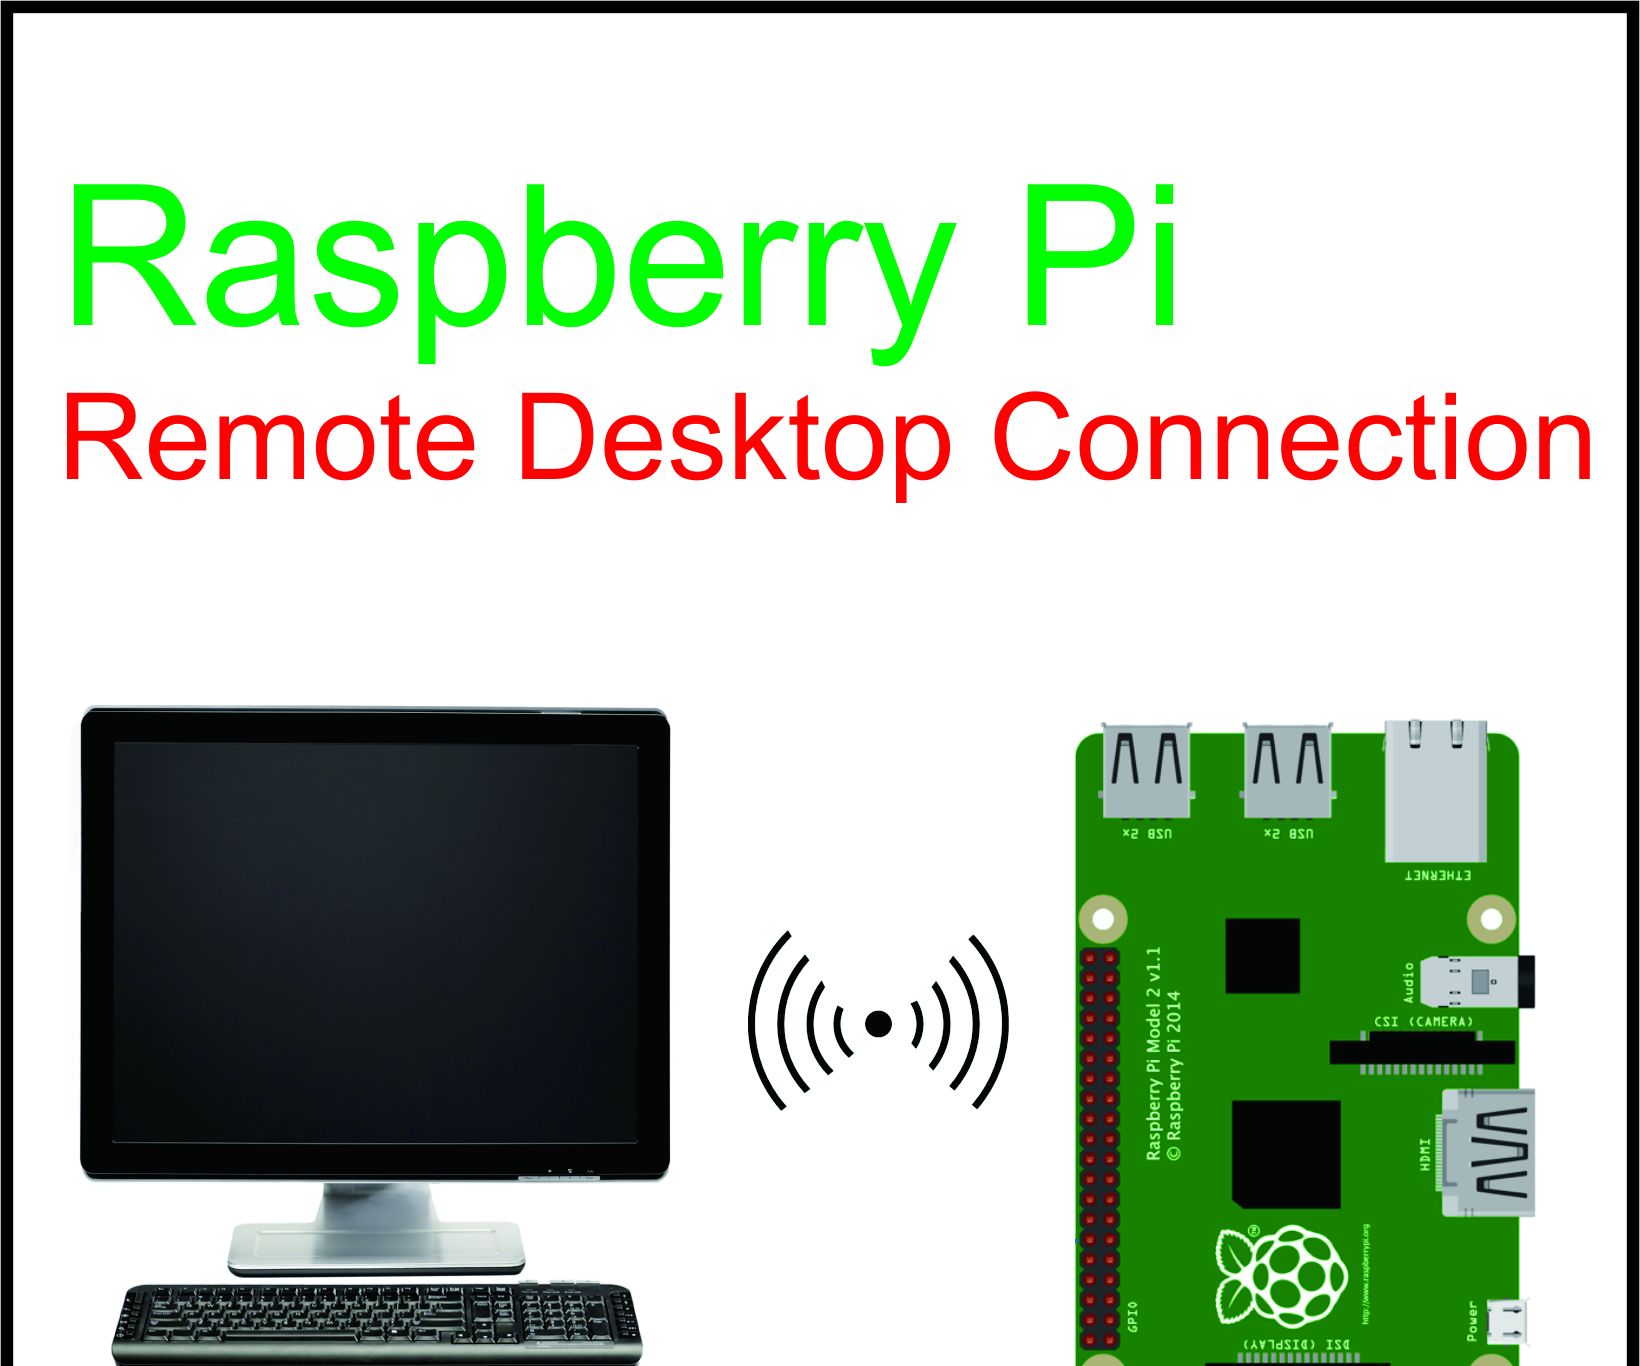
Using VNC for Graphical Remote Management
VNC (Virtual Network Computing) allows you to remotely access the graphical desktop environment of your Raspberry Pi. This is particularly useful if you need to interact with graphical applications or prefer a more user-friendly interface. Setting up VNC is similar to SSH and can be done through the Raspberry Pi Configuration tool.
To enable VNC, go to the Raspberry Pi Configuration tool, select the Interfaces tab, and enable VNC. Once enabled, you can connect to your Raspberry Pi using a VNC client like RealVNC, which is pre-installed on the Raspberry Pi. Download the VNC Viewer on your computer and enter the IP address of your Raspberry Pi to establish a connection.
VNC provides a full desktop experience, allowing you to interact with your Raspberry Pi as if you were sitting in front of it. This is particularly useful for tasks that require a graphical interface, such as editing documents, browsing the web, or running graphical applications. VNC also supports multiple users, making it ideal for collaborative projects.
Advantages of VNC
- Graphical Interface: VNC provides access to the full desktop environment, making it easier to use graphical applications.
- Multi-User Support: Multiple users can connect to the Raspberry Pi simultaneously, enhancing collaboration.
- Remote Control: You can control your Raspberry Pi from anywhere with an internet connection, providing flexibility and convenience.
Remote Desktop Alternatives
While SSH and VNC are the most common methods for remote management, there are several alternatives that you can consider. These alternatives offer different features and may be more suitable for specific use cases.
RDP (Remote Desktop Protocol)
RDP is a proprietary protocol developed by Microsoft that provides a graphical interface for remote access. While it is primarily used for Windows systems, there are RDP clients available for Linux and macOS that can connect to a Raspberry Pi running an RDP server.
To use RDP with your Raspberry Pi, you need to install an RDP server like xrdp. This can be done by running the command sudo apt-get install xrdp in the terminal. Once installed, you can connect to your Raspberry Pi using an RDP client like Microsoft Remote Desktop.
NoMachine
NoMachine is a high-performance remote desktop solution that offers fast and secure access to your Raspberry Pi. It provides a user-friendly interface and supports multiple platforms, including Windows, macOS, and Linux.
To set up NoMachine, download and install the NoMachine server on your Raspberry Pi and the NoMachine client on your computer. Once installed, you can connect to your Raspberry Pi using the NoMachine client and access the full desktop environment.
Managing Files Remotely
Managing files on your Raspberry Pi remotely is essential for efficient project management. There are several methods you can use to transfer and manage files, including FTP, SFTP, and cloud storage solutions.
Using FTP and SFTP
FTP (File Transfer Protocol) and SFTP (Secure File Transfer Protocol) are commonly used for transferring files between your computer and the Raspberry Pi. SFTP is preferred over FTP due to its enhanced security features.
To set up SFTP, you need to enable SSH on your Raspberry Pi, as SFTP runs over the SSH protocol. Once SSH is enabled, you can use an SFTP client like FileZilla to connect to your Raspberry Pi. Enter the IP address, username, and password to establish a connection and transfer files securely.
Cloud Storage Solutions
Cloud storage solutions like Google Drive, Dropbox, and OneDrive can also be used to manage files on your Raspberry Pi. By syncing files to the cloud, you can access them from any device with an internet connection.
To use cloud storage, install the appropriate client on your Raspberry Pi and configure it to sync files to the cloud. This allows you to access and manage files remotely without the need for direct connections.
Automating Tasks with Cron Jobs
Automating tasks on your Raspberry Pi can save time and ensure that important processes run smoothly. Cron is a time-based job scheduler in Unix-like operating systems that allows you to automate tasks by running scripts at specified intervals.
To create a cron job, open the terminal and enter the command crontab -e. This will open the cron table editor, where you can add new jobs. Each line in the cron table represents a job and follows a specific format:
* * * * * command_to_execute
The five asterisks represent the schedule for the job, specifying the minute, hour, day of the month, month, and day of the week. For example, to run a script every day at 3 PM, you would use:
0 15 * * * /path/to/script.sh
Common Use Cases for Cron Jobs
- Backup Scripts: Automate the process of backing up important files to an external drive or cloud storage.
- System Updates: Schedule regular updates to ensure your Raspberry Pi is running the latest software.
- Monitoring Scripts: Run scripts to monitor system performance and send alerts if issues arise.
Monitoring Raspberry Pi Performance
Monitoring the performance of your Raspberry Pi is crucial for ensuring that it runs smoothly and efficiently. There are several tools and methods you can use to monitor CPU usage, memory consumption, and network activity.
Using Built-In Tools
Raspberry Pi OS comes with several built-in tools for monitoring performance. The top command provides a real-time view of system processes, including CPU and memory usage. To use it, simply open the terminal and enter top.
Another useful tool is htop, which provides a more user-friendly interface for monitoring system performance. You can install it by running sudo apt-get install htop and then launching it with the htop command.
Third-Party Monitoring Tools
There are also several third-party tools available for monitoring Raspberry Pi performance. Tools like Nagios and Zabbix provide comprehensive monitoring solutions with features like alert notifications and performance graphs.
To set up a third-party monitoring tool, you need to install the appropriate software on your Raspberry Pi and configure it to monitor the desired metrics. These tools often require more setup but offer advanced features and customization options.
Security Tips for Remote Management
Ensuring the security of your Raspberry Pi is essential when managing it remotely. There are several steps you can take to enhance security and protect your device from unauthorized access.
Change Default Credentials
One of the first steps you should take is to change the default username and password. The default credentials for a Raspberry Pi are well-known and can be easily exploited by attackers. To change the password, use the passwd command in the terminal.
Use Strong Passwords
Ensure that you use strong, unique passwords for your Raspberry Pi. A strong password should include a mix of uppercase and lowercase letters, numbers, and special characters. Avoid using easily guessable information like your name or birthdate.
Enable Firewall
Enabling a firewall can help protect your Raspberry Pi from unauthorized access. You can use the ufw (Uncomplicated Firewall) tool to configure and manage your firewall settings. Install it by running sudo apt-get install ufw and then enable it with sudo ufw enable.
Troubleshooting Common Issues
Even with the best setup, you may encounter issues when remotely managing your Raspberry Pi. Here are some common problems and their solutions:
Connection Issues
If you're unable to connect to your Raspberry Pi, ensure that SSH or VNC is enabled and that you're using the correct IP address. You can also try