Table of Contents
- Introduction
- Understanding IoT, VPC, and Raspberry Pi
- Why AWS for IoT Connectivity?
- Setting Up a VPC in AWS
- Configuring Raspberry Pi for Remote Access
- Securely Connecting IoT Devices to AWS
- Downloading and Installing AWS IoT SDK
- Best Practices for Secure Connections
- Common Challenges and Solutions
- Conclusion
Introduction
Connecting IoT devices securely to cloud platforms like AWS is a critical task for developers and businesses. With the growing adoption of remote IoT solutions, ensuring secure communication between devices and cloud infrastructure is paramount. Whether you're managing a Raspberry Pi for home automation or deploying industrial IoT devices, leveraging AWS's Virtual Private Cloud (VPC) can enhance security and efficiency. This guide will walk you through securely connecting remote IoT devices, particularly a Raspberry Pi, to an AWS VPC while adhering to best practices.
IoT devices are revolutionizing industries by enabling real-time data collection and analysis. However, the increasing number of connected devices also introduces security risks. To mitigate these risks, it's essential to establish secure connections and manage data flow effectively. AWS provides robust tools and services to help you achieve this, and Raspberry Pi serves as an excellent platform for prototyping and deploying IoT solutions.
In this article, we will explore the steps required to securely connect a Raspberry Pi to an AWS VPC. We'll cover the basics of IoT, VPC, and Raspberry Pi, guide you through setting up AWS infrastructure, and provide detailed instructions for configuring your Raspberry Pi. By the end of this guide, you'll have a clear understanding of how to securely connect remote IoT devices to AWS and download the necessary tools for seamless integration.
Read also:Meet Andy Serkis Renowned Actor Behind Smeagol In The Lord Of The Rings
Understanding IoT, VPC, and Raspberry Pi
What is IoT?
The Internet of Things (IoT) refers to a network of interconnected devices that communicate and exchange data over the internet. These devices range from smart home appliances to industrial sensors and actuators. IoT enables automation, real-time monitoring, and data-driven decision-making, making it a cornerstone of modern technology.
What is AWS VPC?
AWS Virtual Private Cloud (VPC) is a service that allows you to create a logically isolated section of the AWS cloud. Within a VPC, you can define IP address ranges, subnets, route tables, and network gateways. VPCs provide enhanced security and control over your cloud resources, making them ideal for hosting IoT applications.
Why Use Raspberry Pi for IoT?
Raspberry Pi is a versatile and cost-effective single-board computer widely used in IoT projects. Its compact size, low power consumption, and compatibility with various sensors and modules make it an excellent choice for prototyping and deploying IoT solutions. Raspberry Pi supports multiple programming languages and operating systems, enabling developers to build custom applications tailored to their needs.
Why AWS for IoT Connectivity?
AWS offers a comprehensive suite of services designed to support IoT applications. Here are some reasons why AWS is a preferred choice for IoT connectivity:
- Scalability: AWS can handle millions of devices and messages, making it suitable for projects of any size.
- Security: AWS provides robust security features, including encryption, authentication, and access control.
- Integration: AWS IoT integrates seamlessly with other AWS services, such as Lambda, S3, and DynamoDB, enabling advanced data processing and storage.
- Global Infrastructure: AWS has a vast network of data centers worldwide, ensuring low latency and high availability.
Setting Up a VPC in AWS
Step 1: Create a VPC
To create a VPC, log in to the AWS Management Console and navigate to the VPC dashboard. Click on "Create VPC" and specify the IP address range, subnet configurations, and other settings. Ensure that you enable DNS resolution and hostname support for easier device management.
Step 2: Configure Subnets and Route Tables
Subnets divide your VPC into smaller networks, while route tables define how traffic is routed. Create public and private subnets to isolate sensitive data and configure route tables to direct traffic to the internet gateway or NAT gateway as needed.
Read also:Best Iot Device Ssh Access For Android A Comprehensive Guide
Step 3: Set Up Security Groups and Network ACLs
Security groups act as virtual firewalls for your instances, while network ACLs provide an additional layer of security at the subnet level. Define inbound and outbound rules to restrict access to authorized devices and services.
Configuring Raspberry Pi for Remote Access
Step 1: Install the Operating System
Begin by installing an operating system on your Raspberry Pi, such as Raspberry Pi OS or Ubuntu. Use a microSD card to flash the OS image and boot the device.
Step 2: Enable SSH for Remote Access
SSH (Secure Shell) allows you to access your Raspberry Pi remotely. Enable SSH by running the following command:
sudo systemctl enable ssh sudo systemctl start sshStep 3: Configure Static IP Address
To ensure consistent connectivity, assign a static IP address to your Raspberry Pi. Edit the DHCP configuration file and specify the desired IP address, subnet mask, and gateway.
Securely Connecting IoT Devices to AWS
Step 1: Register Your Device in AWS IoT Core
In the AWS IoT Core console, register your Raspberry Pi as a new device. This process generates a unique certificate and private key for secure communication.
Step 2: Install AWS IoT SDK
Download and install the AWS IoT SDK on your Raspberry Pi. The SDK provides libraries and tools to interact with AWS services and manage device connectivity.
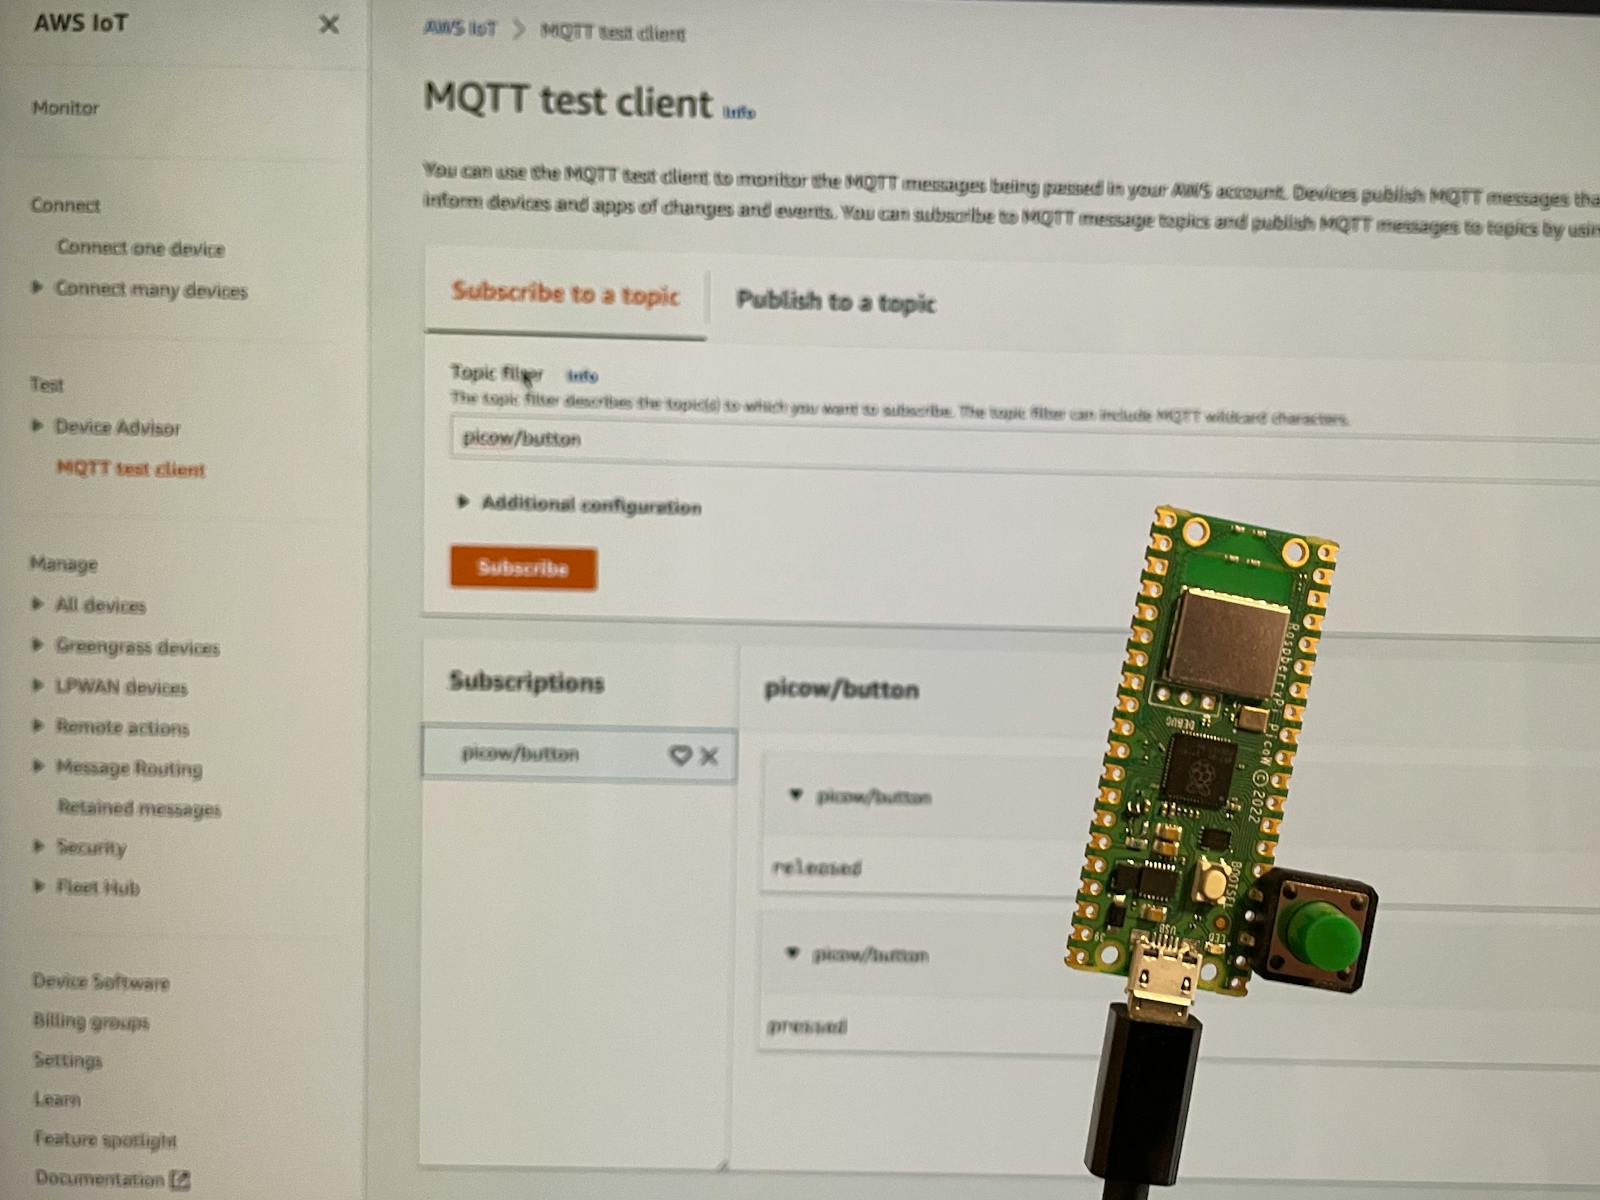
Step 3: Establish MQTT Connection
MQTT (Message Queuing Telemetry Transport) is a lightweight protocol ideal for IoT communication. Use the AWS IoT SDK to establish an MQTT connection and publish/subscribe to topics.
Downloading and Installing AWS IoT SDK
Step 1: Download the SDK
Visit the official AWS IoT SDK repository and download the latest version compatible with your Raspberry Pi's operating system.
Step 2: Install Dependencies
Before installing the SDK, ensure that all required dependencies are installed. Use the package manager to install libraries such as OpenSSL and Python.
Step 3: Configure the SDK
Follow the documentation to configure the SDK with your AWS credentials and device certificates. Test the connection to verify successful installation.
Best Practices for Secure Connections
- Use Strong Authentication: Implement multi-factor authentication (MFA) and use IAM roles to manage access.
- Encrypt Data in Transit: Enable TLS encryption for all communication between devices and AWS.
- Regularly Update Firmware: Keep your Raspberry Pi and IoT devices updated with the latest security patches.
- Monitor and Audit: Use AWS CloudWatch and CloudTrail to monitor activity and detect anomalies.
Common Challenges and Solutions
Challenge 1: Network Latency
Network latency can affect the performance of IoT applications. To mitigate this, use AWS Global Accelerator to route traffic through the nearest AWS edge location.
Challenge 2: Device Authentication
Managing device authentication can be complex. Use AWS IoT Device Management to automate certificate provisioning and lifecycle management.
Challenge 3: Data Privacy
Protect sensitive data by encrypting it at rest and in transit. Use AWS Key Management Service (KMS) to manage encryption keys securely.
Conclusion
In this guide, we've explored how to securely connect remote IoT devices, specifically a Raspberry Pi, to an AWS VPC. By leveraging AWS's robust infrastructure and following best practices, you can ensure secure and efficient communication between your devices and the cloud. We covered the basics of IoT, VPC, and Raspberry Pi, provided step-by-step instructions for setting up AWS infrastructure, and discussed best practices for maintaining secure connections.
Take the next step by implementing these strategies in your IoT projects. Share your experiences in the comments below, and don't hesitate to reach out if you have any questions. For more in-depth guides and resources, explore our other articles on IoT and cloud computing.