Are you looking for a way to remotely connect to your Raspberry Pi without spending a dime? You're in the right place! In today's interconnected world, having the ability to access your Raspberry Pi from anywhere is invaluable. Whether you're managing a home automation system, running a server, or working on IoT projects, remote access ensures flexibility and convenience. This guide dives deep into the world of free Raspberry Pi remote connections, offering step-by-step instructions, expert advice, and practical tips to help you achieve seamless connectivity.
Remote access to your Raspberry Pi not only enhances productivity but also opens up endless possibilities for innovation. From controlling your devices to troubleshooting issues, the benefits are limitless. However, setting up remote connections can be daunting, especially for beginners. That's why we've crafted this detailed guide to walk you through the process with ease. By the end of this article, you'll have a solid understanding of how to remotely connect to your Raspberry Pi using free tools and methods.
Before we delve into the specifics, it's important to note that remote connections involve sensitive data. Therefore, it's crucial to follow best practices to ensure security. We'll cover essential safety measures and trusted tools to help you establish a secure connection. So, let's embark on this journey to unlock the full potential of your Raspberry Pi.
Read also:Securely Connect Remote Iot Vpc Aws Not Working On Windows A Comprehensive Guide
Table of Contents
- Introduction to Raspberry Pi Remote Connect
- Why Remote Access Matters
- Setting Up SSH for Remote Access
- Using VNC for Graphical Remote Control
- Leveraging RDP for Windows Users
- Free Tools for Remote Connections
- Security Best Practices
- Troubleshooting Common Issues
- Advanced Tips and Tricks
- Conclusion and Next Steps
Introduction to Raspberry Pi Remote Connect
Raspberry Pi has revolutionized the world of single-board computing, offering an affordable and versatile platform for various applications. Whether you're a hobbyist, developer, or educator, Raspberry Pi provides the tools you need to bring your ideas to life. One of its standout features is the ability to remotely connect, enabling users to manage and interact with their devices from anywhere in the world.
Remote connect functionality is particularly beneficial for IoT projects, where devices are often deployed in remote locations. By accessing your Raspberry Pi remotely, you can monitor sensors, control actuators, and analyze data without physically being present. This capability not only saves time but also enhances operational efficiency. Moreover, remote access is a game-changer for developers who need to debug code or update software on the go.
To make the most of Raspberry Pi remote connect, it's essential to understand the underlying technologies. Protocols like SSH (Secure Shell) and VNC (Virtual Network Computing) play a pivotal role in enabling remote access. These protocols ensure secure and reliable communication between your device and the Raspberry Pi. In the following sections, we'll explore these technologies in detail and guide you through the setup process.
Why Remote Access Matters
Remote access is more than just a convenience; it's a necessity in today's digital landscape. With the increasing reliance on technology, the ability to manage devices remotely has become crucial. For Raspberry Pi users, remote access offers several advantages that enhance both personal and professional projects.
First and foremost, remote access provides flexibility. Whether you're at home, in the office, or traveling, you can interact with your Raspberry Pi as if you were sitting right in front of it. This flexibility is particularly valuable for IoT enthusiasts who deploy devices in hard-to-reach locations. Instead of physically visiting the site, you can troubleshoot issues, update configurations, and retrieve data remotely.
Another significant benefit is cost savings. By eliminating the need for physical presence, remote access reduces travel expenses and minimizes downtime. For businesses, this translates to increased productivity and efficiency. Additionally, remote access enhances security by allowing you to monitor and control your devices in real-time, ensuring that they remain safe from unauthorized access.
Read also:Meri Brown Married 2024 A Glimpse Into Her Inspiring Journey
Setting Up SSH for Remote Access
SSH (Secure Shell) is one of the most popular protocols for remote access, known for its security and reliability. Setting up SSH on your Raspberry Pi is a straightforward process that requires minimal configuration. Below, we'll guide you through the steps to enable SSH and connect to your device remotely.
Step 1: Enable SSH on Raspberry Pi
By default, SSH is disabled on Raspberry Pi for security reasons. To enable it, follow these steps:
- Insert the microSD card with the Raspberry Pi OS into your computer.
- Create an empty file named "ssh" (without any extension) in the boot partition.
- Eject the microSD card and insert it back into your Raspberry Pi.
- Power on the device, and SSH will be enabled automatically.
Step 2: Connect to Raspberry Pi via SSH
Once SSH is enabled, you can connect to your Raspberry Pi using an SSH client like PuTTY (for Windows) or the terminal (for macOS/Linux). Here's how:
- Open your SSH client and enter the Raspberry Pi's IP address.
- Use the default username "pi" and password "raspberry" to log in.
- For enhanced security, change the default password immediately after logging in.
Step 3: Secure Your SSH Connection
While SSH is inherently secure, additional measures can further protect your connection:
- Disable password authentication and use SSH keys for authentication.
- Change the default SSH port to reduce the risk of brute-force attacks.
- Regularly update your Raspberry Pi OS to patch any security vulnerabilities.
Using VNC for Graphical Remote Control
While SSH is excellent for command-line access, some users prefer a graphical interface for remote control. This is where VNC (Virtual Network Computing) comes into play. VNC allows you to view and interact with your Raspberry Pi's desktop environment from another device.
Step 1: Install VNC Server on Raspberry Pi
To get started, you'll need to install a VNC server on your Raspberry Pi. Follow these steps:
- Open the terminal and run the command:
sudo apt update && sudo apt install realvnc-vnc-server. - Once installed, enable the VNC server by navigating to the Raspberry Pi configuration menu.
- Set the VNC server to start automatically on boot for convenience.
Step 2: Connect to Raspberry Pi via VNC Viewer
After setting up the VNC server, you can connect to your Raspberry Pi using a VNC viewer:
- Download and install a VNC viewer on your computer or mobile device.
- Enter the Raspberry Pi's IP address in the VNC viewer and click "Connect."
- Log in using your Raspberry Pi credentials to access the desktop environment.
Step 3: Optimize VNC Performance
To ensure smooth performance, consider the following tips:
- Adjust the screen resolution and color depth in the VNC server settings.
- Use a wired connection instead of Wi-Fi for better stability.
- Close unnecessary applications on the Raspberry Pi to free up resources.
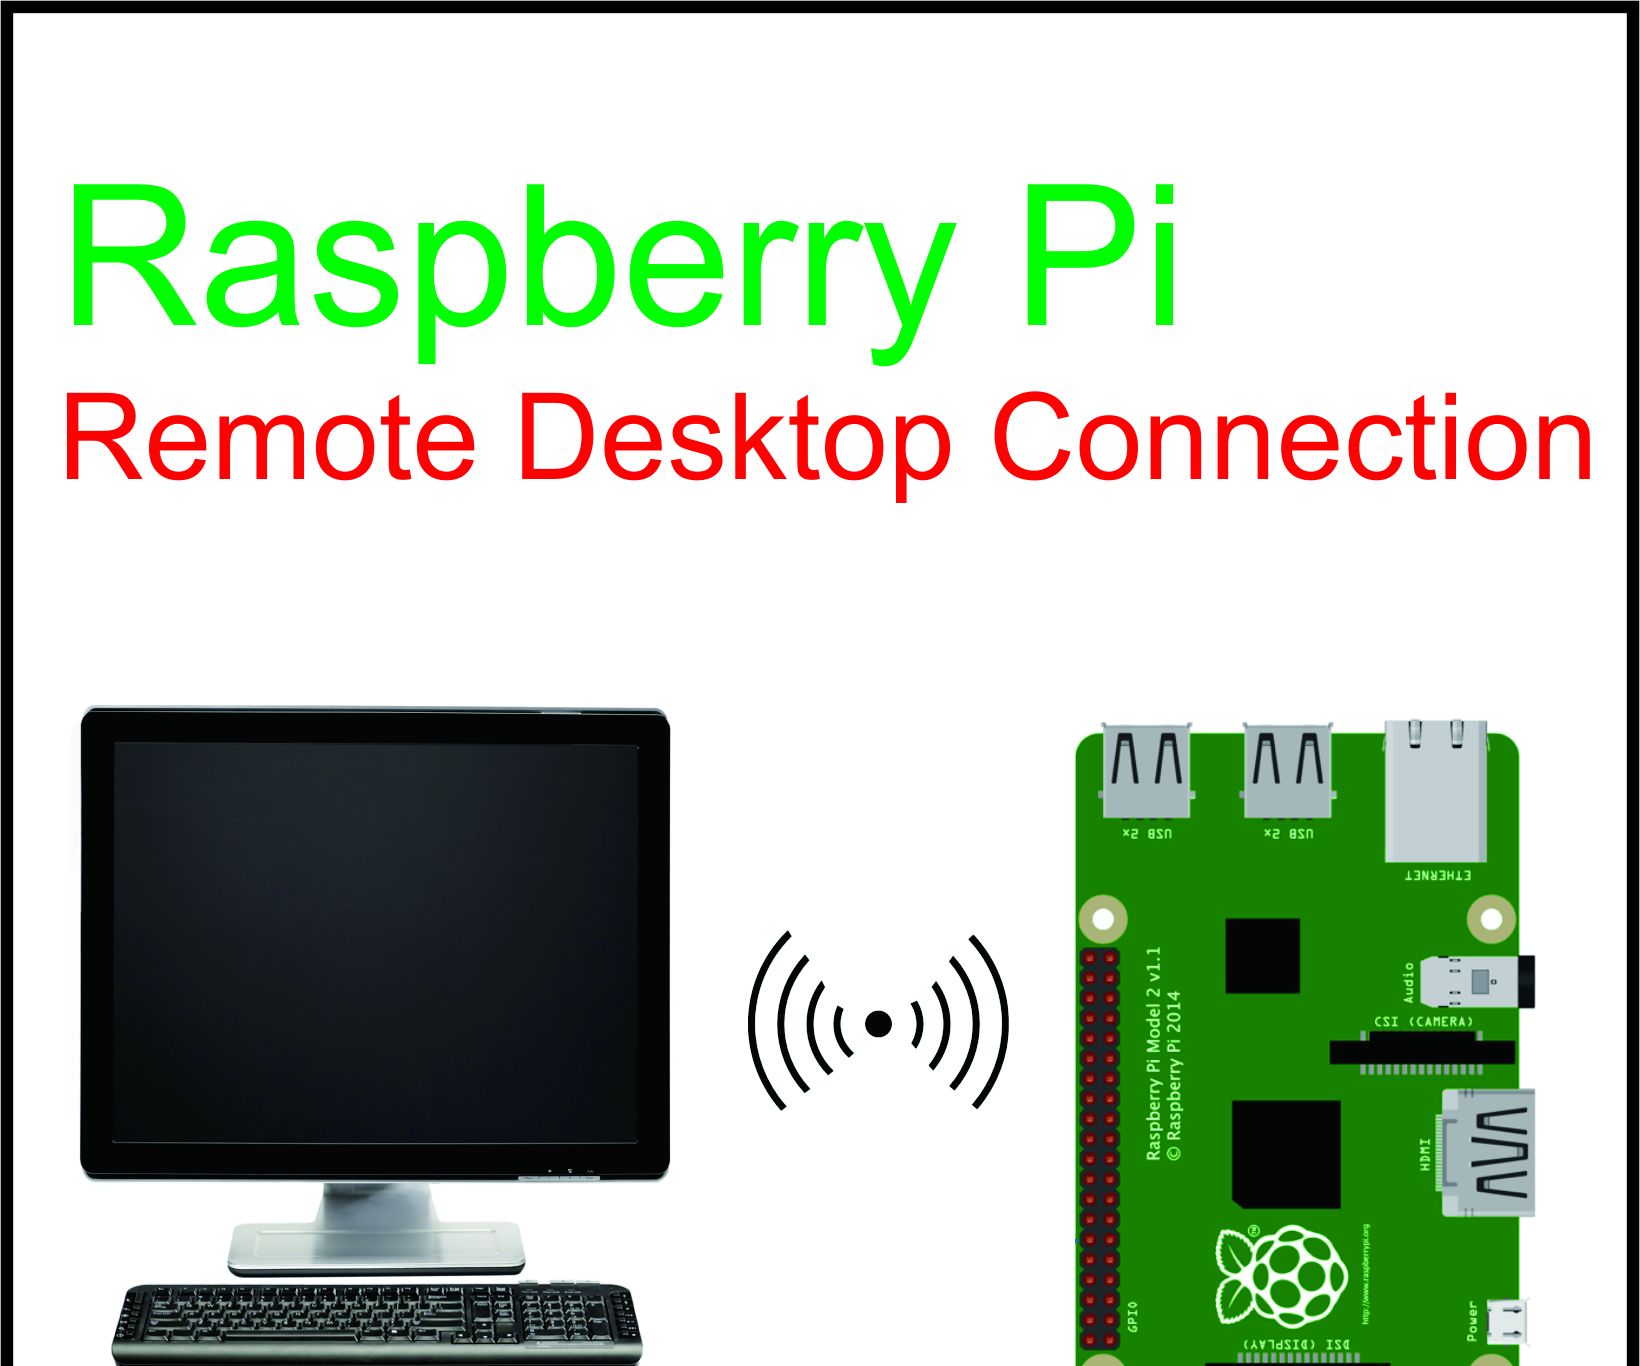
Leveraging RDP for Windows Users
For Windows users, Remote Desktop Protocol (RDP) is a familiar and efficient way to access remote devices. While RDP is not natively supported on Raspberry Pi, you can install third-party software to enable this functionality.
Step 1: Install xrdp on Raspberry Pi
xrdp is an open-source implementation of RDP that allows Windows users to connect to their Raspberry Pi. Here's how to install it:
- Open the terminal and run the command:
sudo apt update && sudo apt install xrdp. - Once installed, the xrdp service will start automatically.
- Verify the service status using the command:
sudo systemctl status xrdp.
Step 2: Connect to Raspberry Pi via Remote Desktop
With xrdp installed, you can connect to your Raspberry Pi using the built-in Remote Desktop Connection tool on Windows:
- Open the Remote Desktop Connection app and enter the Raspberry Pi's IP address.
- Log in using your Raspberry Pi credentials to access the desktop environment.
- For a seamless experience, adjust the display settings to match your preferences.
Free Tools for Remote Connections
There are numerous free tools available that make remote connections to your Raspberry Pi easier and more efficient. Below, we'll explore some of the most popular options and their features.
Tool 1: PuTTY
PuTTY is a widely-used SSH client for Windows users. It provides a simple interface for establishing secure connections to your Raspberry Pi. Key features include:
- Support for SSH, Telnet, and other protocols.
- Customizable settings for advanced users.
- Lightweight and easy to install.
Tool 2: RealVNC Viewer
RealVNC Viewer is a versatile VNC client that works across multiple platforms. It offers a user-friendly interface and robust performance. Key features include:
- Cross-platform compatibility (Windows, macOS, Linux, Android, iOS).
- Encryption for secure connections.
- Free for personal use with Raspberry Pi.
Tool 3: NoMachine
NoMachine is a high-performance remote desktop solution that supports both SSH and RDP. It's known for its speed and reliability. Key features include:
- Low latency and high-quality video streaming.
- Support for file transfer and audio redirection.
- Free for personal use with up to 4 concurrent connections.
Security Best Practices
When setting up remote access to your Raspberry Pi, security should be a top priority. Failing to implement proper safeguards can expose your device to unauthorized access and potential data breaches. Below are some best practices to ensure a secure connection.
Use Strong Passwords
One of the simplest yet most effective ways to enhance security is by using strong, unique passwords. Avoid using default credentials like "pi" and "raspberry." Instead, create a complex password that includes a mix of uppercase, lowercase, numbers, and special characters.
Enable Two-Factor Authentication
Two-factor authentication (2FA) adds an extra layer of security by requiring a second form of verification, such as a code sent to your phone. This ensures that even if someone obtains your password, they won't be able to access your Raspberry Pi without the second factor.
Regularly Update Your System
Keeping your Raspberry Pi OS and software up to date is crucial for patching security vulnerabilities. Regular updates ensure that you have the latest security fixes and performance improvements. Use the following commands to update your system:
sudo apt updatesudo apt upgrade
Troubleshooting Common Issues
Despite following the steps outlined above, you may encounter issues when setting up remote access to your Raspberry Pi. Below are some common problems and their solutions.
Issue 1: Unable to Connect via SSH
If you're unable to establish an SSH connection, consider the following troubleshooting steps:
- Verify that SSH is enabled on your Raspberry Pi.
- Check the IP address and ensure it's correct.
- Ensure that your firewall is not blocking