Table of Contents
- Introduction
- What is RemoteIoT?
- Raspberry Pi Overview
- Why Use RemoteIoT with Raspberry Pi?
- Setting Up RemoteIoT Behind Router for Raspberry Pi
- Port Forwarding and NAT Explained
- Step-by-Step Configuration Guide
- Common Issues and Solutions
- Security Best Practices for RemoteIoT
- Advanced Features of RemoteIoT
- Conclusion
Introduction
RemoteIoT behind router Raspberry Pi is a powerful combination that allows users to remotely access and control their devices from anywhere in the world. This setup is particularly useful for IoT enthusiasts, developers, and businesses that rely on real-time data monitoring and device management. By leveraging the capabilities of RemoteIoT and Raspberry Pi, you can create a robust remote access solution that is both cost-effective and highly functional.
In today’s interconnected world, the ability to remotely manage devices has become increasingly important. Whether you’re a hobbyist working on a home automation project or a professional managing industrial IoT systems, having reliable remote access is crucial. Raspberry Pi, with its compact size and versatility, has emerged as a popular choice for IoT projects. Coupled with RemoteIoT, it becomes a powerhouse for remote device management.
This article will explore the intricacies of setting up RemoteIoT behind a router for Raspberry Pi. We’ll delve into the technical aspects, provide step-by-step guidance, and address common challenges. By the end of this guide, you’ll have a clear understanding of how to implement this setup and ensure its security and efficiency.
Read also:How To Ssh Into Iot Devices Remotely From Android A Comprehensive Guide
What is RemoteIoT?
RemoteIoT is a cloud-based platform designed to facilitate remote access and management of IoT devices. It provides users with a secure and reliable way to connect to their devices over the internet, regardless of their physical location. The platform supports a wide range of devices, including Raspberry Pi, making it an ideal choice for IoT enthusiasts and professionals alike.
One of the key features of RemoteIoT is its ability to bypass complex network configurations, such as port forwarding and NAT (Network Address Translation). This is particularly beneficial for users who may not have advanced networking knowledge or access to their router settings. By simplifying the process, RemoteIoT makes remote access accessible to a broader audience.
RemoteIoT also offers advanced features such as real-time monitoring, device grouping, and automated alerts. These capabilities enhance the overall user experience and make it easier to manage multiple devices simultaneously. Whether you’re monitoring sensors, controlling actuators, or analyzing data, RemoteIoT provides the tools you need to stay connected and in control.
Raspberry Pi Overview
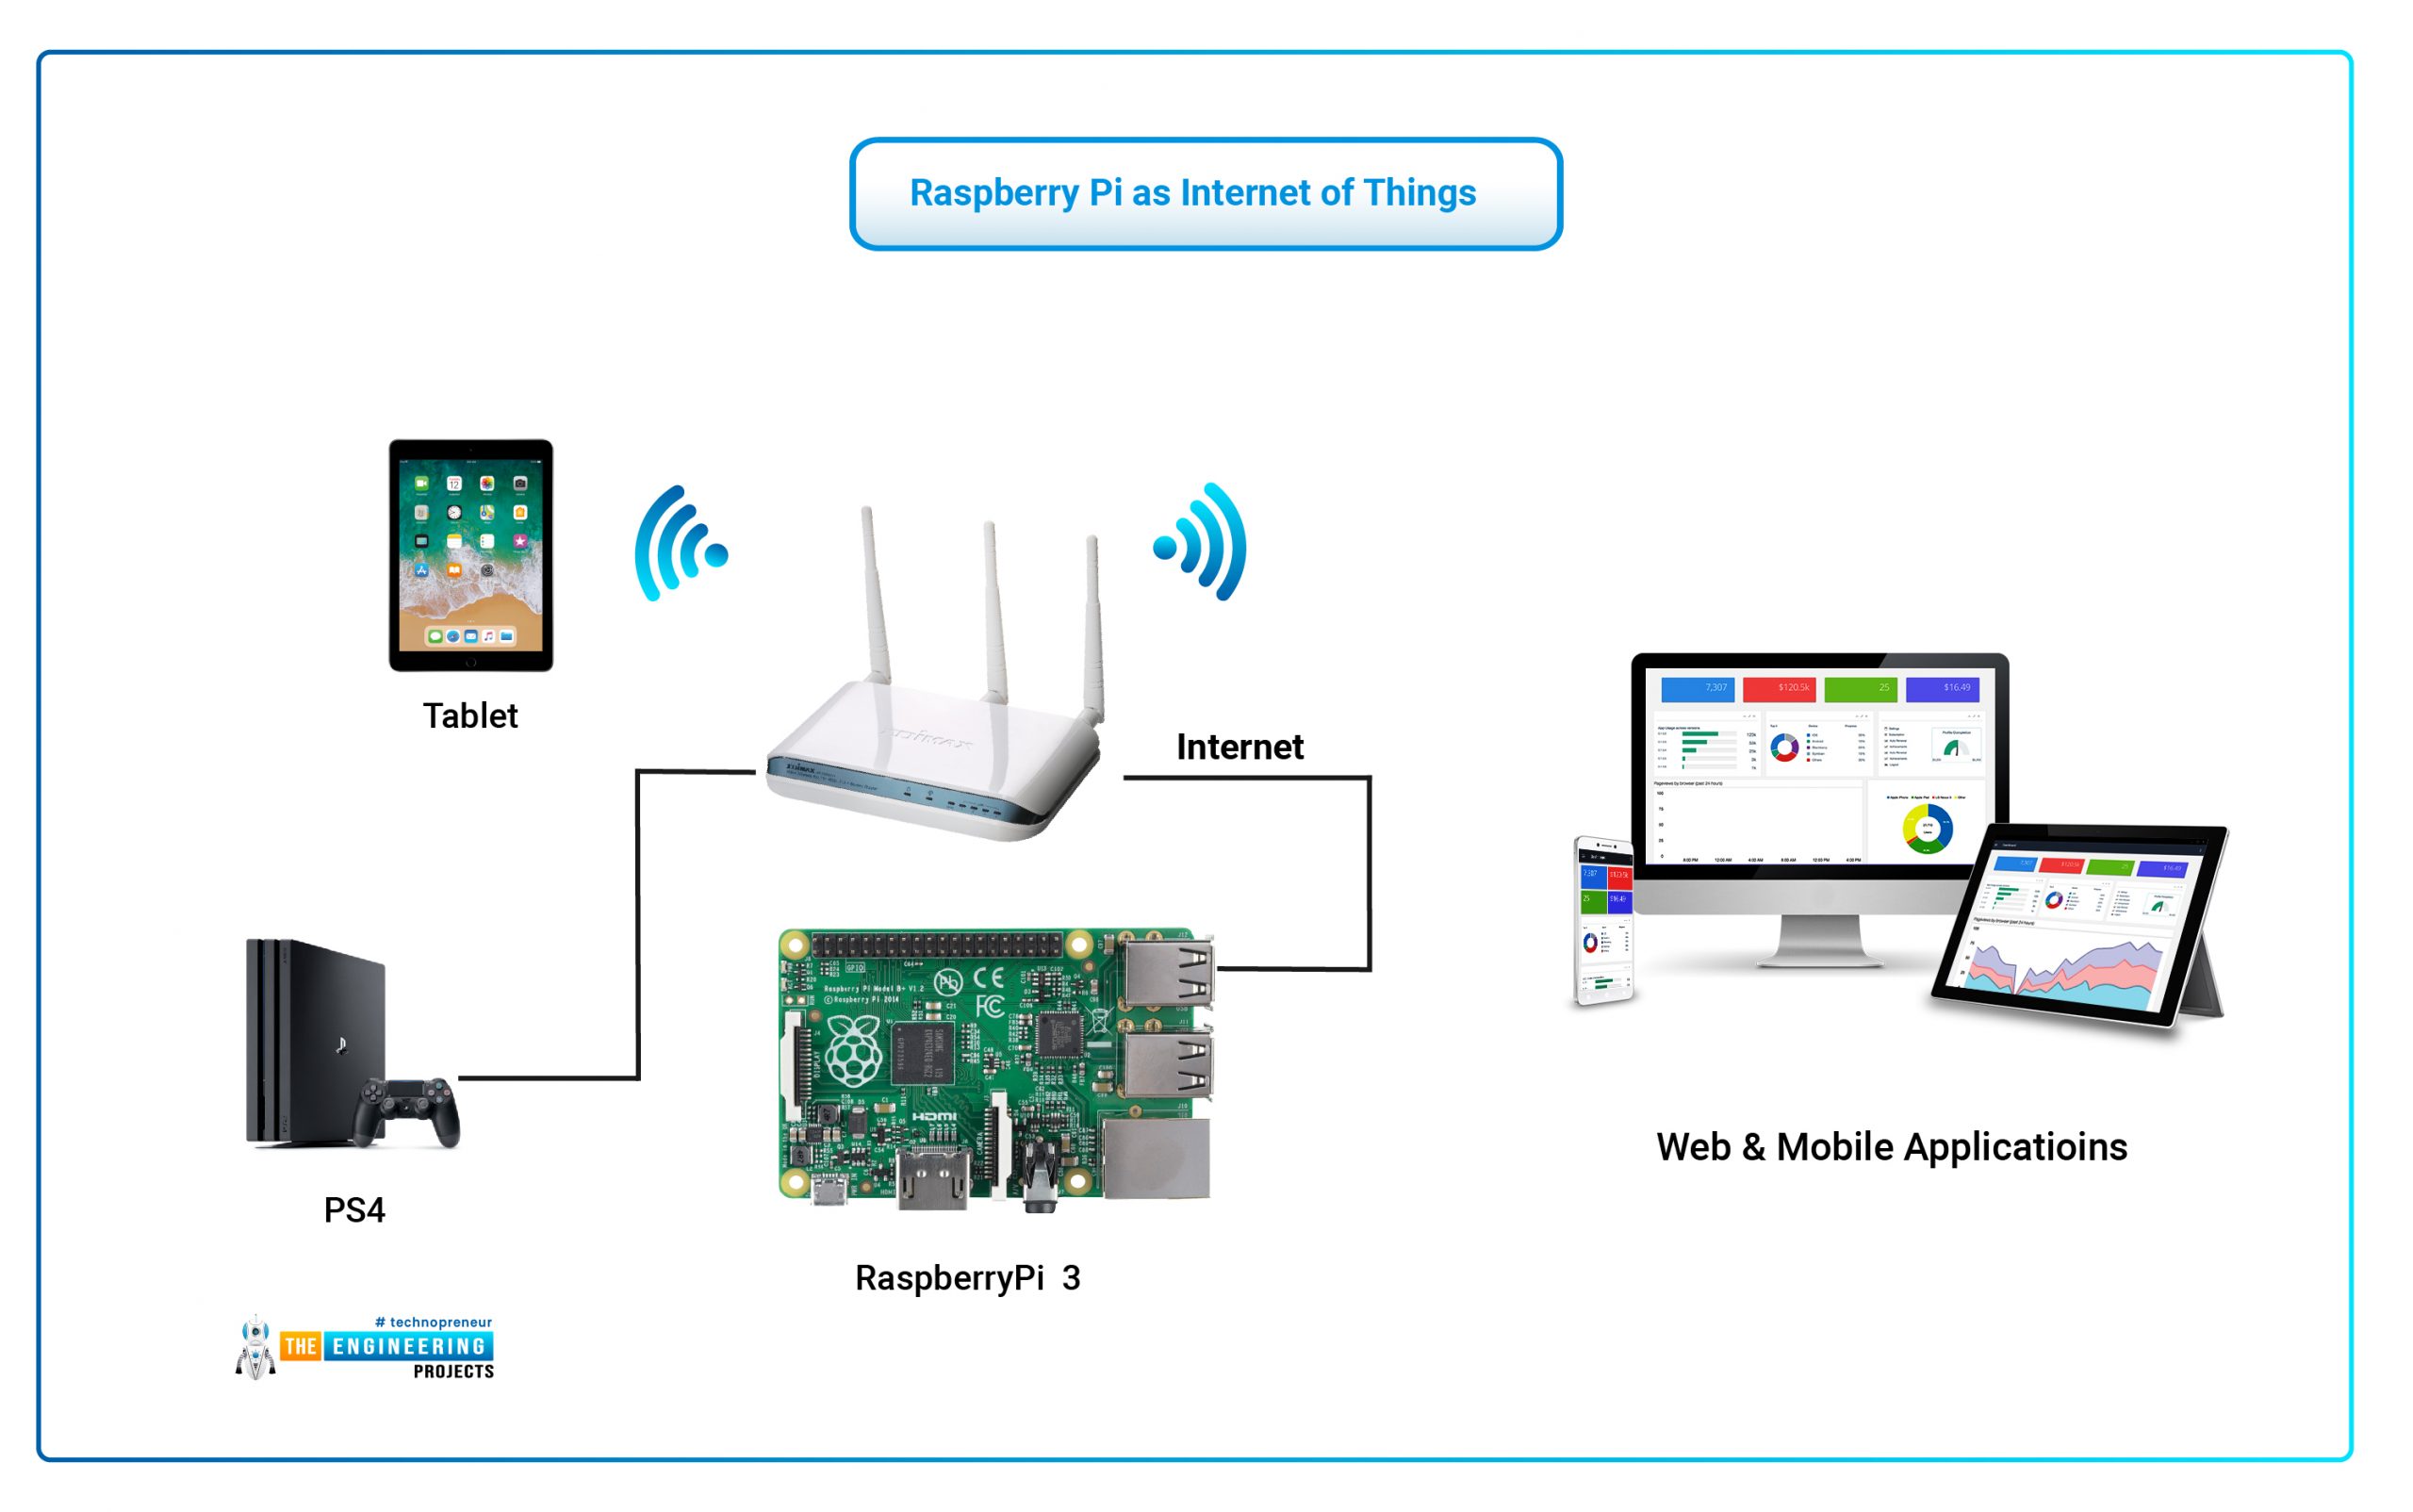
Raspberry Pi is a single-board computer that has gained immense popularity due to its affordability, versatility, and ease of use. Originally designed for educational purposes, it has since evolved into a powerful tool for a wide range of applications, including IoT, robotics, and home automation. Its compact size and low power consumption make it an ideal choice for projects that require remote access and monitoring.
The Raspberry Pi runs on a Linux-based operating system, which provides users with a high degree of flexibility and customization. It supports a variety of programming languages, including Python, C++, and Java, making it accessible to both beginners and experienced developers. Additionally, its GPIO (General Purpose Input/Output) pins allow for easy integration with external devices and sensors.
When combined with RemoteIoT, Raspberry Pi becomes a powerful platform for remote device management. Whether you’re building a smart home system, monitoring environmental data, or controlling industrial equipment, Raspberry Pi and RemoteIoT offer a seamless solution for staying connected to your devices.
Read also:Remoteiot Device Connect Software Download A Comprehensive Guide
Why Use RemoteIoT with Raspberry Pi?
There are several compelling reasons to use RemoteIoT with Raspberry Pi. First and foremost, it simplifies the process of remote access by eliminating the need for complex network configurations. This is particularly beneficial for users who may not have access to their router settings or lack advanced networking knowledge.
Another advantage of using RemoteIoT with Raspberry Pi is its scalability. Whether you’re managing a single device or an entire network of IoT devices, RemoteIoT provides the tools you need to stay organized and in control. Its ability to group devices and monitor them in real-time makes it an invaluable asset for both personal and professional projects.
Finally, RemoteIoT enhances the security of your Raspberry Pi setup. By providing secure connections and encryption, it ensures that your data remains protected from unauthorized access. This is particularly important for projects that involve sensitive information or critical infrastructure.
Setting Up RemoteIoT Behind Router for Raspberry Pi
Setting up RemoteIoT behind a router for Raspberry Pi involves several steps, but the process is straightforward if you follow the instructions carefully. Below, we’ll walk you through the key steps to ensure a successful setup.
Step 1: Register for RemoteIoT
Before you begin, you’ll need to create an account on the RemoteIoT platform. Visit their website and sign up for a free or paid plan, depending on your needs. Once registered, you’ll receive an API key that will be used to connect your Raspberry Pi to the platform.
Step 2: Install RemoteIoT Client on Raspberry Pi
Next, you’ll need to install the RemoteIoT client on your Raspberry Pi. This can be done using the terminal by running the following commands:
sudo apt update sudo apt install remoteiot-client
Once installed, configure the client by entering your API key and other required details.
Step 3: Configure Router Settings
While RemoteIoT eliminates the need for port forwarding in most cases, you may still need to adjust your router settings to ensure a stable connection. This includes enabling UPnP (Universal Plug and Play) and ensuring that your Raspberry Pi has a static IP address.
Port Forwarding and NAT Explained
Port forwarding and NAT are essential concepts to understand when setting up remote access for Raspberry Pi. Port forwarding involves configuring your router to direct incoming traffic on specific ports to your Raspberry Pi. This is necessary for applications that require direct access to your device.
NAT, on the other hand, allows multiple devices on a local network to share a single public IP address. While NAT simplifies network management, it can sometimes complicate remote access. RemoteIoT addresses this issue by providing a secure tunnel that bypasses NAT restrictions, making it easier to connect to your Raspberry Pi.
Understanding these concepts is crucial for troubleshooting connectivity issues and ensuring a stable connection. While RemoteIoT minimizes the need for manual configuration, having a basic understanding of port forwarding and NAT can help you optimize your setup.
Step-by-Step Configuration Guide
To ensure a successful setup, follow these detailed steps:
Step 1: Update Raspberry Pi
Before installing any software, ensure that your Raspberry Pi is up to date by running the following commands:
sudo apt update sudo apt upgrade
Step 2: Install Required Dependencies
Install the necessary dependencies for RemoteIoT by running:
sudo apt install python3-pip pip3 install remoteiot
Step 3: Configure RemoteIoT Client
Edit the configuration file to include your API key and other settings:
sudo nano /etc/remoteiot/config.json
Common Issues and Solutions
While setting up RemoteIoT behind a router for Raspberry Pi is generally straightforward, you may encounter some common issues. Below are a few troubleshooting tips:
- Connection Issues: Ensure that your Raspberry Pi has a stable internet connection and that the RemoteIoT client is running.
- Firewall Restrictions: Check your router’s firewall settings to ensure that it’s not blocking the connection.
- API Key Errors: Double-check that you’ve entered the correct API key in the configuration file.
Security Best Practices for RemoteIoT
Security is a critical consideration when setting up remote access for Raspberry Pi. Below are some best practices to ensure your setup is secure:
- Use Strong Passwords: Always use strong, unique passwords for your Raspberry Pi and RemoteIoT account.
- Enable Encryption: Ensure that your connection is encrypted to protect your data from unauthorized access.
- Regular Updates: Keep your Raspberry Pi and RemoteIoT client up to date with the latest security patches.
Advanced Features of RemoteIoT
RemoteIoT offers several advanced features that can enhance your remote access experience. These include:
- Device Grouping: Organize your devices into groups for easier management.
- Automated Alerts: Set up notifications for specific events or conditions.
- Data Analytics: Analyze device data in real-time to gain valuable insights.
Conclusion
Setting up RemoteIoT behind a router for Raspberry Pi is a straightforward process that offers numerous benefits for IoT enthusiasts and professionals alike. By following the steps outlined in this guide, you can create a secure and reliable remote access solution that meets your needs.
We encourage you to experiment with the advanced features of RemoteIoT and explore the full potential of your Raspberry Pi setup. If you found this guide helpful, please consider sharing it with others or leaving a comment below. For more articles on IoT and Raspberry Pi, be sure to check out our other resources.